Using Travis CI with Bitbucket
We’re Earthly. We streamline the build process using containerization. You’re into Travis CI and Bitbucket? Perfect. Earthly can take your CI/CD workflow to the next level. Give it a try.
CI/CD (continuous integration / continuous delivery) helps development teams optimize software quality tests before delivering committed changes into production. In this tutorial, you’ll learn how to set up a continuous integration workflow using Travis CI and Bitbucket.
First, let’s break down exactly what CI and CD represent:
- Continuous integration focuses on automated tests to ensure an application isn’t broken when new commits are integrated into the main branch.
- Continuous delivery picks up where continuous integration ends—it can be considered an extension of CI. The end goal of CD is to quickly release new changes to customers. CD ensures there’s an automated way to push these changes to different environments.
CI/CD is a sequential process, typically implemented as a pipeline. But manually building these pipelines can be tedious, time-consuming, and hard to scale.
CI/CD pipelines are normally from a Git repository management platform, like Bitbucket. Bitbucket provides users (software developers, individuals, and teams) with a central place to manage and collaborate with others on source code.
CI/CD can be carried out using a tool, like Travis CI. Travis CI is a hosted or managed CI service used to build, test, and deliver software projects hosted on GitHub, Bitbucket, GitLab, or Assembla.
CI tools, like Travis CI, use containerization to create isolated environments for build processes. These environments are configurable—typically through a YAML file—which declares what underlying environment software and dependencies should be installed to build and test the application.
In this tutorial, you’ll learn how Travis CI and Bitbucket integrate. Plus, we’ll show you how to implement continuous integration in Travis CI using a Node.js project stored in Bitbucket.
How to Use Travis CI With Bitbucket
In this section, you will develop a simple REST API using Node.js and the Express framework that will be stored in a Bitbucket repository. It will then be sourced by Travis CI to run tests on the application.
Prepare Prerequisites
- Git installed on your local machine
- Bitbucket account created
- Travis CI account created with your Atlassian Bitbucket account
- Node.js (version 10 or higher) installed
- JavaScript basic understanding
Create Repository in Bitbucket
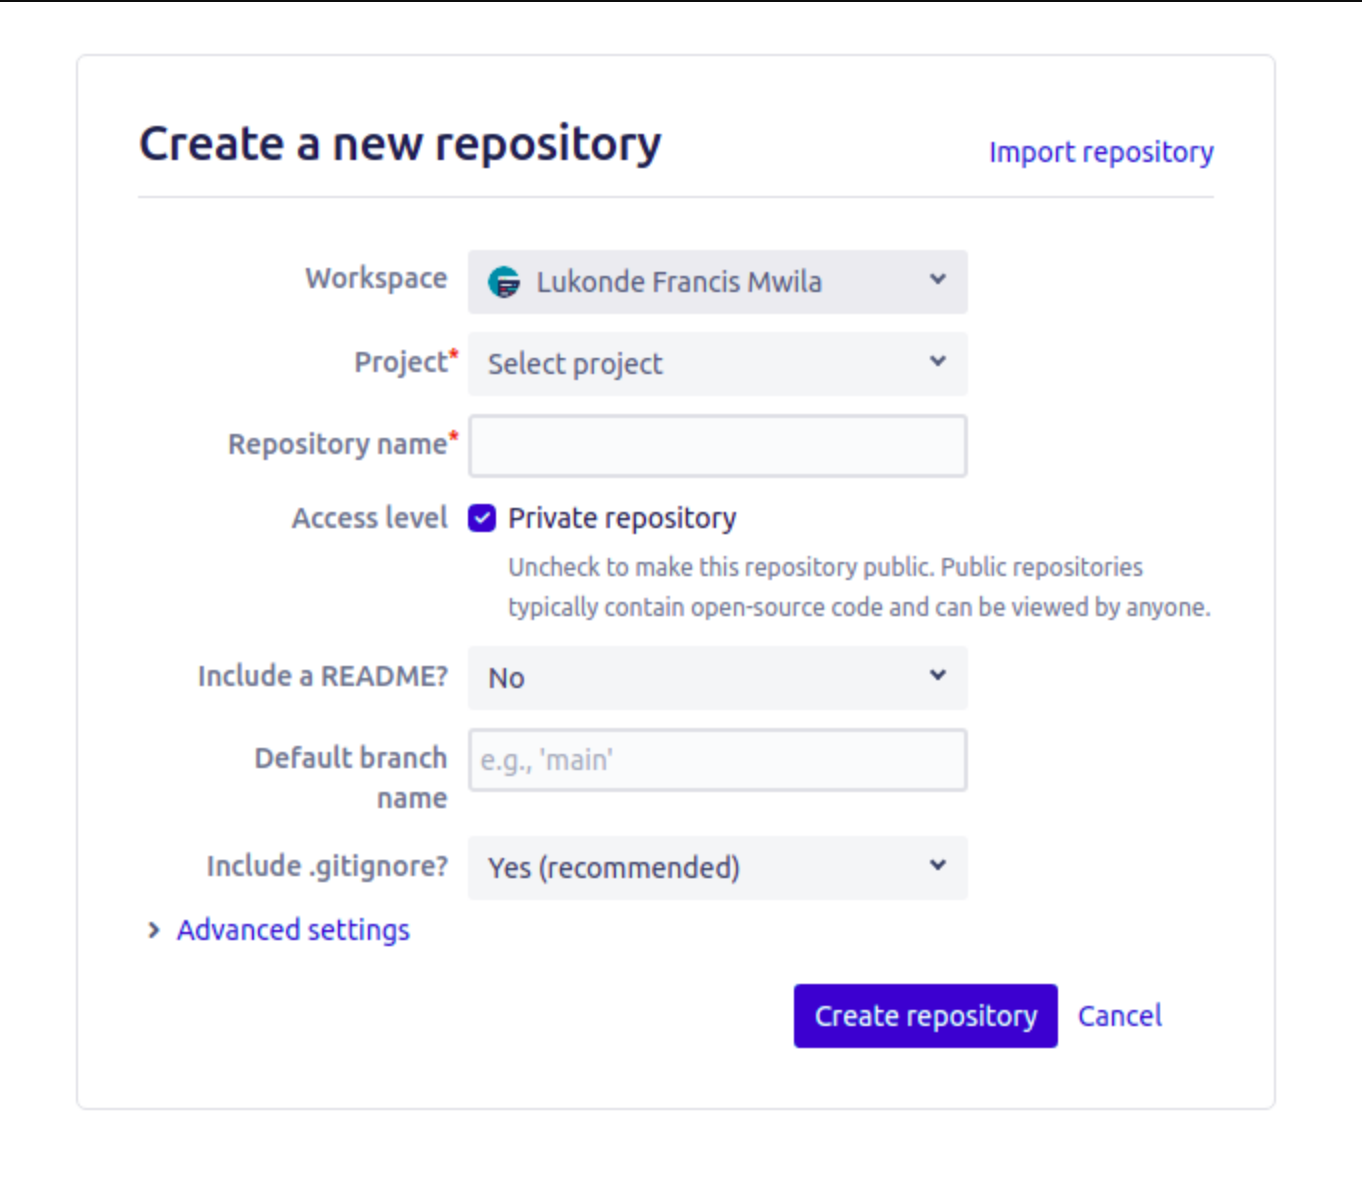
To get started with Bitbucket, you have to create an Atlassian account. This process allows you to make use of external authentication systems like Google, Microsoft, Apple, and Slack. Once you’re signed in to your Atlassian account, you’ll be redirected to your Bitbucket profile page. Bitbucket is organized with a main menu on the left hand side of the screen. Repositories are organized into projects to cater to the typical workflow of software development processes. The image below highlights the form used during the repo creation process.

Note on Names
When you see ((username)) throughout this tutorial, replace it with your Bitbucket username. Similarly, ((repo)) should be replaced with the name of the Bitbucket repository you created.
Create Project and Install Dependencies
Once you have the above prerequisites, it’s time to populate your remote repository with the application source code. Create a directory on your local machine with an appropriate project name. After that, initialize a new Git repository and set its remote origin to your Bitbucket repository:
mkdir nodejs-express-test
cd nodejs-express-test
git init
git remote add origin https://((username))@bitbucket.org/((username))/((repo)).git
Your local repository is now linked to the remote one. Next, you can add application code by initializing a new Node.js project and installing the relevant dependencies for that project.
You can do this by running the npm init command. You’ll be prompted with a number of questions to populate the project package.json file. You can either answer each question accordingly or quickly skip through them by pressing enter:
npm init
# Install application specific dependencies
npm install body-parser cors express --save
# Install development dependencies and test libraries
npm install -D chai mocha nodemon supertest
You can then update the scripts in the package.json file with the following changes:
"scripts": {
  "start": "node src/index.js",
  "dev": "nodemon src/index.js",
  "test": "mocha 'src/test/**/*.js'"
}
Once you’ve made that change, your package.json file should look like this:
{
  "name": "((repo))",
  "version": "1.0.0",
  "description": "",
  "main": "index.js",
  "scripts": {
    "start": "node src/index.js",
    "dev": "nodemon src/index.js",
    "test": "mocha 'src/test/**/*.js'"
  },
  "repository": {
    "type": "git",
    "url": "git+https://((username))@bitbucket.org/((username))/((repo)).git"
  },
  "author": "Your Name",
  "license": "ISC",
  "homepage": "https://bitbucket.org/((username))/((repo))#readme",
  "dependencies": {
    "body-parser": "^1.19.0",
    "cors": "^2.8.5",
    "express": "^4.17.1"
  },
  "devDependencies": {
    "chai": "^4.3.4",
    "mocha": "^9.0.2",
    "nodemon": "^2.0.12",
    "supertest": "^6.1.3"
  }
}
Configure Application
It’s now time to configure the application by importing the express framework and creating a server to handle any incoming requests on a designated port. In this section, we’ll be creating and updating the src/app.js and src/index.js files:
├── node_modules
├── package-lock.json
├── package.json
├── .travis.yaml
└── src
   ├── app.js
   ├── index.js
   └── test
         └── index.js
Initialize and Configure Express
In the app.js file, you will import the express framework and set it to handle incoming HTTP GET requests on a certain route with a /test endpoint:
// Express App Setup
const express = require('express');
const http = require('http');
const bodyParser = require('body-parser');
const cors = require('cors');

// Initialization
const app = express();
app.use(cors());
app.use(bodyParser.json());

// Express route handlers
app.get('/test', (req, res) => {
  res.status(200).send({ text: 'Simple Node App Working!' });
});

module.exports = app;
Create the Server
The next step required to get the application running is to create the server that will manage responses to incoming requests from clients:
const http = require('http');
const app = require('./app');

// Server
const port = process.env.PORT || 8080;
const server = http.createServer(app);
server.listen(port, () => console.log(`Server running on port ${port}`));
Run the Application
To ensure that your application is working, you can run the npm start command from the project root directory in the terminal.
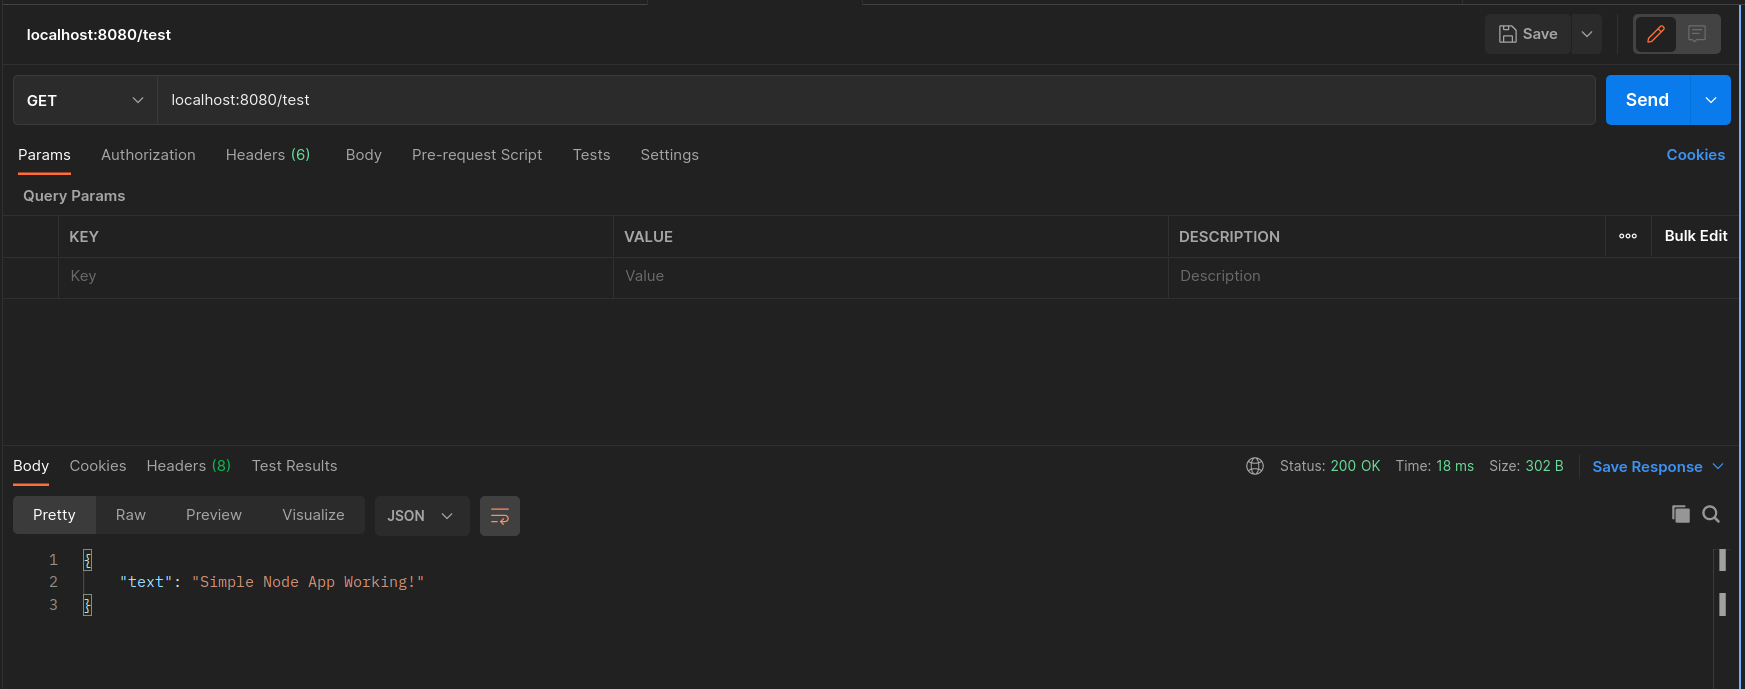
If you have an application like Postman installed, you can test the configured route to see if you get the expected response.

Alternatively, you can make the same request in a browser with the same address, or run a curl command in your terminal:
curl http://localhost:8080/test Create the Application Test
The last step is to create a test that will check if a client will get the expected responses when a request is made to the single endpoint for the application. To do this, update the src/test/index.js file with the code block below. Then run the relevant command based on the script for testing:
const { expect } = require('chai');
const { agent } = require('supertest');
const app = require('../app');

const request = agent;

describe('Some controller', () => {
  it('Get request to /test returns some text', async () => {
    const res = await request(app).get('/test');
    const textResponse = res.body;
    expect(res.status).to.equal(200);
    expect(textResponse.text).to.be.a('string');
    expect(textResponse.text).to.equal('Simple Node App Working!');
  });
});
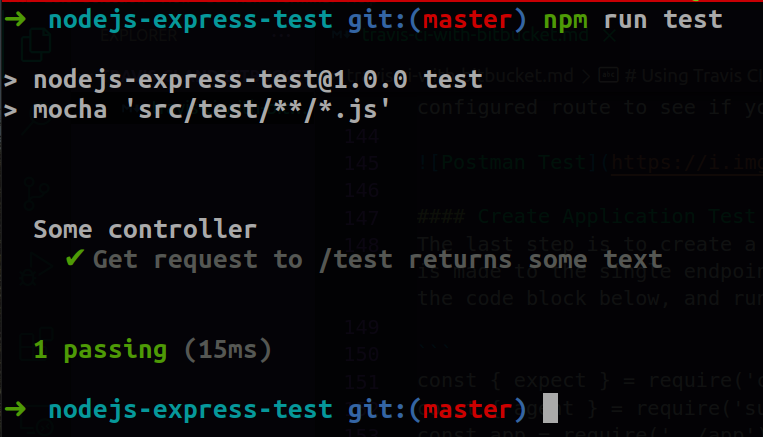
After updating the file, run the following command:
npm run test
Create Travis CI Build Configuration File
Now that your application is working as expected and the appropriate test for the endpoint has passed, you have to commit your changes to the remote repository for Travis CI to carry out the CI process. However, you first need to tell Travis CI how to handle your application in its environment.
To do this, you need to declare the required environment dependencies as well as the commands to run in testing the application. These declarations are specified in a configuration file saved as .travis.yaml. Travis CI makes use of this configuration file to define the build environment and steps to be followed during the CI stage. Storing your build definitions in this file allows your configurations to be version controlled. There are several different properties that can be specified in the .travis.yaml file. You can use this as a point of reference, depending on what your CI requirements are.
The configuration file below makes use of the language, install, and script properties.
Language - This property enables language support based on the type of application being built.
Install - This property determines any dependencies that should be installed for the project.
Script - This property is where you outline the steps to be run for automated tests and building of the application.
Create and save this file in the root directory of your project:
language: node_js
node_js:
  - "12"

install:
  - echo "Install application dependencies..."
  - npm install

script:
  - echo "Run application test"
  - npm run test
Trigger Travis CI Build
Before committing your changes to the remote repository, log in to the Travis CI account that was created with your Bitbucket profile. You should see your project repository on the dashboard; make sure that the repository is active. If it isn’t, you can activate it by clicking on the toggle button.
Once that’s done, you can proceed to commit and push your local changes to the remote repository. Travis CI will then detect the most recent changes (or commit) and go through the build phases defined in the .travis.yaml configuration file.


The source code for this demonstration is available in this public repository.
Conclusion
CI/CD has become a common model for delivering quality software. Tools, like Travis CI, accelerate the process of automation by providing their platform as a service to software developers.
That being said, the practice of configuring builds for multiple application environments can become increasingly complex—especially as you work across different programming languages and underlying environments. That’s where Earthly comes in.
Earthly is a build automation tool that works on top of popular CI platforms, like Travis CI, operating in the layer between language-specific tools (like Maven, Gradle, npm, pip, and Go Build) and the CI build specification. A tool like Earthly can give your build automation process the edge it needs when it comes to repeatability and portability.
Earthly makes CI/CD super simple
Fast, repeatable CI/CD with an instantly familiar syntax – like Dockerfile and Makefile had a baby.


