How to Use Docker for Your MySQL Database
We’re Earthly. We make building software simpler and therefore faster. This article is about data management for MySQL containers. If you’re interested in a simple and containerized approach to building software then check us out.
Docker is among the more popular platforms for developing and deploying containerized applications. Containers are isolated environments that hold an application along with all the software packages it needs. With Docker, you can run or scale your application in any environment.
MySQL is one of the most popular SQL-compatible relational databases. Running MySQL inside a Docker container lets you separate your database from your code. You can also use a container orchestrator like Kubernetes to scale MySQL independently of your API server instance.
Using containers gives you the benefit of consistency. Once you’re done building your system, you can deploy your containers to the cloud without manually installing and configuring MySQL on bare-metal hardware.
In this article, you’ll learn how you can Dockerize your database, what you need to know first, and why you should try it.
Planning Your Deployment
While using Docker with MySQL simplifies many aspects of your deployment, such as installing the server and creating a database, it does come with some technical issues. The most significant is data storage: Docker is primarily designed around stateless containers, while a MySQL database is inherently stateful.
You need to use Docker volumes when deploying a MySQL container. Volumes provide a mechanism to persist files after the container stops. You’ll lose your database if you restart a MySQL container that’s not using volumes.
Volumes store data outside of any single container. After your MySQL container stops, the files stored in its mounted volumes will remain accessible on your host. You can mount the volumes back into new containers, avoiding data loss after you replace your MySQL instance with a new image version.
Use Cases for MySQL in Docker
Dockerized MySQL works well in development and staging environments where you want to quickly bring up isolated database instances. It’s much quicker and easier to start a database in Docker than to configure a conventional MySQL installation in a full virtual machine.
Although you could run MySQL locally on your host, this becomes limiting when you’re working on several applications simultaneously. Using containers offers complete separation of each system’s data and the ability to provide a unique MySQL server configuration for each one.
There are some scenarios where choosing to Dockerize your database might be less impactful. Demanding production environments might be better off with a dedicated MySQL server. Docker’s performance overheads are modest but can stack up in I/O-intensive workloads like those of a write-heavy database. A bare-metal production server also keeps your instance accessible to people in database maintenance roles who are unfamiliar with Docker.
Nonetheless, Docker is perfectly capable of supporting MySQL database deployments, from local development environments through to production. Using it for your whole cycle guarantees consistency. If your production instance uses the same Docker image as development, you can be sure your live systems will behave predictably. Here’s how to get a MySQL server running in a Docker container.
Starting Your MySQL Container
MySQL has an official Docker image available on Docker Hub. First identify the image tag you should use. MySQL versions 5.6, 5.7, and 8.0 are available.
The latest tag points to the latest release, currently 8.0. Avoid using this tag, as it means you could unintentionally receive a major MySQL version upgrade in the future. Specifically referencing the version you want allows for a more controlled approach to updates.
Starting a MySQL container for the first time will automatically create an initial root user. You need to either supply a password for this user or ask MySQL to generate one. Here’s an example of running a basic MySQL container with a specified root password:
docker run --name mysql -d \
    -p 3306:3306 \
    -e MYSQL_ROOT_PASSWORD=change-me \
    --restart unless-stopped \
    mysql:8
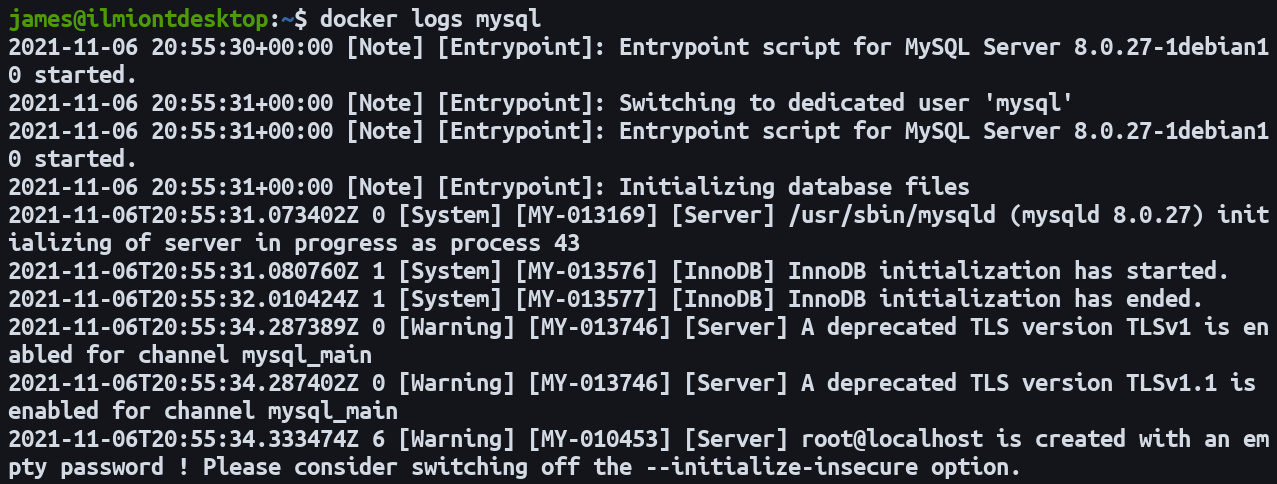
This command starts a container with MySQL 8. The password for the root user is set manually. The -d flag means the container will run in the background until it’s stopped, independently of your terminal session. You can view the container’s startup logs with docker logs mysql --follow. When “ready for connections” appears, your MySQL database is accessible.

The --restart parameter instructs Docker to always restart the container. This means your MySQL database will run without intervention after host machine reboots or Docker daemon updates. The unless-stopped policy used here won’t start the container if you manually stopped it with docker stop.
Docker’s -p flag enables port forwarding into the container so you’ll be able to access your database on localhost:3306. This is the default MySQL port; this example forwards port 3306 on your host to the same port inside the container. Use your favorite MySQL client to connect over this port with root and your chosen password as user credentials.
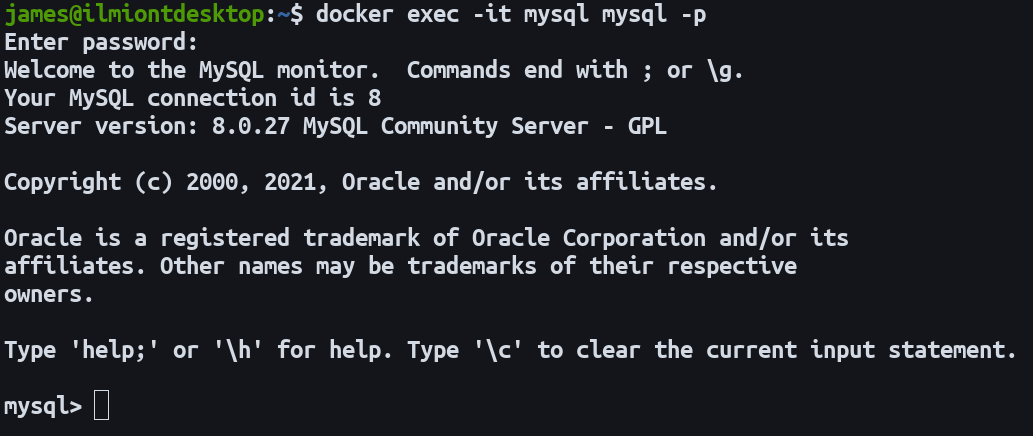
Without port forwarding enabled, you’d only be able to access your database from within the container. You can do this at any time by using docker exec to get a shell inside the container:
docker exec -it mysql mysql -pThis command runs mysql -p inside the mysql container. The -it flags mean your terminal’s input stream will be forwarded to the container as an interactive TTY.

Persisting Data With Volumes
While the container created above is a fully functioning MySQL server, you need to set up volumes so your data isn’t lost when the container stops. The MySQL Docker image is configured to store all its data in the /var/lib/mysql directory. Mounting a volume to this directory will enable persistent data storage that outlives any single container instance.
Stop and remove your earlier container to avoid naming conflicts:
docker stop mysql
docker rm mysql
Then start a new container with the revised configuration:
docker run --name mysql -d \
    -p 3306:3306 \
    -e MYSQL_ROOT_PASSWORD=change-me \
    -v mysql:/var/lib/mysql \
    mysql:8
Using this command to start your MySQL container will create a new Docker volume called mysql. It’ll be mounted into the container at /var/lib/mysql, where MySQL stores its data files. Any data written to this directory will now be transparently stored in the Docker-managed volume on your host.
Repeat the steps to stop and remove your container:
docker stop mysql
docker rm mysql
Repeat the docker run command with the same arguments. As the mysql named volume will already exist, the new container will retain the data created by the old one. If you want to destroy the volume, use docker volume rm mysql.
Using Container Networks
In the examples above, port forwarding was used to expose the MySQL server on your host’s network. If you’ll only be connecting to MySQL from within another Docker container, such as your API server, a better approach is to create a dedicated Docker network. This improves security by limiting your database’s exposure.
First create a Docker network for your application:
docker network create example-appSpecify this network when starting your MySQL container:
docker run --name mysql -d \
    -e MYSQL_ROOT_PASSWORD=change-me \
    -v mysql:/var/lib/mysql \
    --network example-app \
    mysql:8
Connect another container to the same network:
docker run --name api-server -d \
    -p 80:80 \
    --network example-app \
    example-api-server:latest
Your API and MySQL containers now share a network. You can connect to MySQL from your API container by referencing the MySQL container’s hostname. This matches the container’s name by default. Here your application should connect to port 3306 on the mysql host.
MySQL Configuration
The official MySQL image supports several environment variables that you can use to configure your container’s initial state. You’ve already seen one, MYSQL_ROOT_PASSWORD. Use the -e flag with docker run to set each of these variables. They’re only respected the first time the container starts, when the MySQL data directory is empty.
MYSQL_DATABASE- The name of a database schema to be created when the container starts.MYSQL_USERandMYSQL_PASSWORD- Create a new ordinary user when the container starts.MYSQL_RANDOM_ROOT_PASSWORD- Set this instead ofMYSQL_ROOT_PASSWORDif you’d like MySQL to generate a securerootpassword for you. If you enable this setting, the password will be emitted to the container’s logs (accessible via thedocker logscommand) during the first start. It will not be possible to retrieve the password afterward.MYSQL_ALLOW_EMPTY_PASSWORD- Setting this will create therootuser with an empty password. Only use this option for throwaway database instances. It is insecure and would let anyone connect to MySQL with superuser privileges.
Using these environment variables means their values will be visible to anyone able to docker inspect your container. A more secure approach is to use Docker secrets or volumes to inject values as files.

The MySQL image supports an additional variant of each of the above variables. Suffix a variable’s name with _FILE to have its value interpreted as a path to a file containing the real value. This example securely sets the root user’s password in a way that can’t be inspected from outside the container:
mkdir secrets
echo "P@$$w0rd" > secrets/mysql-root-password

docker run --name mysql -d \
    -p 3306:3306 \
    -e MYSQL_ROOT_PASSWORD_FILE=/run/secrets/mysql-root-password \
    -v ./secrets:/run/secrets \
    --restart unless-stopped \
    mysql:8
The password is written to a file that’s mounted into the container using a Docker volume. MySQL instructs that the password be sourced from that mounted file by way of the MYSQL_ROOT_PASSWORD_FILE environment variable. Anyone viewing the container’s environment variables will see the file path instead of the plain text password.
Creating a Custom Image
It can be helpful to create your own Docker image if your app requires custom MySQL configuration. Adding extra layers atop the official MySQL base image gives you a ready-to-use image where you can omit manual injection of a MySQL config file.
Here’s an example my.cnf that changes some MySQL settings:
[mysqld]
innodb-ft-enable-stopword = 0
innodb-ft-min-token-size = 1
The MySQL image loads config files stored in the /etc/mysql/conf.d directory. Files will only be read when the MySQL server starts, which is when you start your Docker container. To get your config into your container, either use another Docker volume to bind mount your file, or use a Dockerfile to bake your changes into a new image:
FROM mysql:8
COPY my.cnf /etc/mysql/conf.d/my.cnf
Build your image:
docker build -t custom-mysql:latest .
Now you can run your image to start a MySQL instance that automatically uses your config file:
docker run --name custom-mysql -d \
    -p 3306:3306 \
    -e MYSQL_ROOT_PASSWORD=change-me \
    -v mysql:/var/lib/mysql \
    custom-mysql:latest
Since your custom image is based on the official Docker Hub version, you can use all the existing environment variables described above.
Conclusion
Running MySQL in a Docker container provides consistency and cross-environment isolation for your database deployments. You can either use the official MySQL image as-is or create a custom image.
Once you’re ready to move to production, you can reuse your development workflow to get your database live. Automate the process by launching your containers within your CI/CD pipeline, where tools such as Earthly can offer repeatable builds and insights into any failures. Earthly offers on-demand Docker daemons and high reproducibility to help you automate your builds more quickly.
Earthly makes CI/CD super simple
Fast, repeatable CI/CD with an instantly familiar syntax – like Dockerfile and Makefile had a baby.


