Building in Kubernetes Using Tekton
We’re Earthly. We make building software simpler and faster with containerization. If you’re using Kubernetes, Earthly could be the perfect companion for your build pipeline. Check it out.
Continuous integration/continuous delivery (CI/CD) principles offer multiple benefits to software organizations, including faster time to market, higher-quality code, and simpler and faster fault isolation. Applications built using CI/CD pipeline best practices tend to see a huge increase in users over time, necessitating a migration from a large codebase and low-scalability monolithic architecture to a more manageable and efficient microservice architecture.
Kubernetes is one of the most popular platforms for automating the management, deployment, and scaling processes of microservice applications. Because Kubernetes is complex, though, a framework can help developers and operations teams use the platform to follow CI/CD practices in building applications. This is where Tekton comes in.
Tekton is an open source framework that’s designed to help you optimize your CI/CD practices. With it, you can build customizable and reusable CI/CD pipelines as well as orchestrate workflows across on-premise systems and multiple cloud providers.
In this tutorial, you’ll learn how to create a customizable CI/CD workflow with Tekton to deploy a sample application to your Kubernetes cluster.
What Is Tekton?
Tekton is a Kubernetes-native CI/CD framework used by engineers and developers to construct workflows that build, test, and deploy code to a cloud or on-premise Kubernetes cluster.
Tekton consists of five main concepts:
- Steps: A step is the smallest unit for building workflows with Tekton. Block elements such as arguments, images, and commands are defined in steps.
- Tasks: A task element is a combination of steps that are expressed in sequential order.
- Pipelines: A pipeline is a combination of tasks ordered sequentially. It can be set up to run concurrently depending on the use case. The inputs, outputs, and workflow parameters can be specified as well.
- TaskRuns: As the name implies, a TaskRun element instantiates specific tasks. It also specifies details required for a task to run a Git repository as well as container registry information.
- PipelineRuns: A PipelineRun is the final element in the hierarchy. Similar to TaskRun, it instantiates specific pipeline elements. It also specifies the desired runtime information such as a Git repository and container registry.
All of these Tekton elements are configured as custom resource definitions (CRDs) on Kubernetes. These CRDs are customizable and reusable, thereby extending your Kubernetes capabilities. You can use these CRDs to orchestrate workflows such as checking out code from a Git repository, linting the codebase, checking for vulnerabilities in the container images, deploying to a container registry with the appropriate tags, and updating the actual state of the cluster with changes from the new state configurations. This build workflow can be performed across multiple providers and on-premise systems.
To learn more about Tekton, check out the official documentation.
Building an Application Using Tekton

For this example, you’re going to package a Node.js application using Docker, push it to Docker Hub, then automatically deploy it to Kubernetes using Tekton. For a sample Node.js application, check the GitHub repository for this tutorial.
Prerequisites
For this tutorial, you’ll need the following.
A Kubernetes Cluster
You’ll need a cluster to run Tekton and deploy the sample Node.js application. This tutorial uses the lightweight Kubernetes distribution MicroK8s version 1.23.5, installed on Ubuntu 20.04 via Snap package manager. This cluster must have role-based access control (RBAC) enabled and ClusterRole and ClusterRoleBinding definitions created for the cluster-admin user so that you can create any resource and freely interact with your cluster.
Note that if you’re using MicroK8s, you’ll have to configure it to export its kubectl configuration to $HOME/.kube/config with this command:
microk8s.kubectl config view --raw > $HOME/.kube/configThis Kubernetes cluster must have MetalLB enabled so the load balancer service can attach an IP address to the Node.js deployment. This makes it accessible outside the cluster.
This cluster must also have a storage class enabled so that PersistentVolumeClaim definitions can be created and used by the Tekton pipeline.
Kubectl
You need the kubectl command line utility to be able to interact with your Kubernetes cluster. This tutorial uses kubectl version 1.23.
A Docker Hub Account
You need access to a public registry on Docker Hub to deploy your built image to. You can create an account if you haven’t already.
Installing Tekton Pipelines
Tekton Pipelines is a Kubernetes extension and the core of the Tekton project. With Tekton Pipelines installed in your cluster, you can define the Kubernetes custom resources needed to build your CI/CD pipeline.
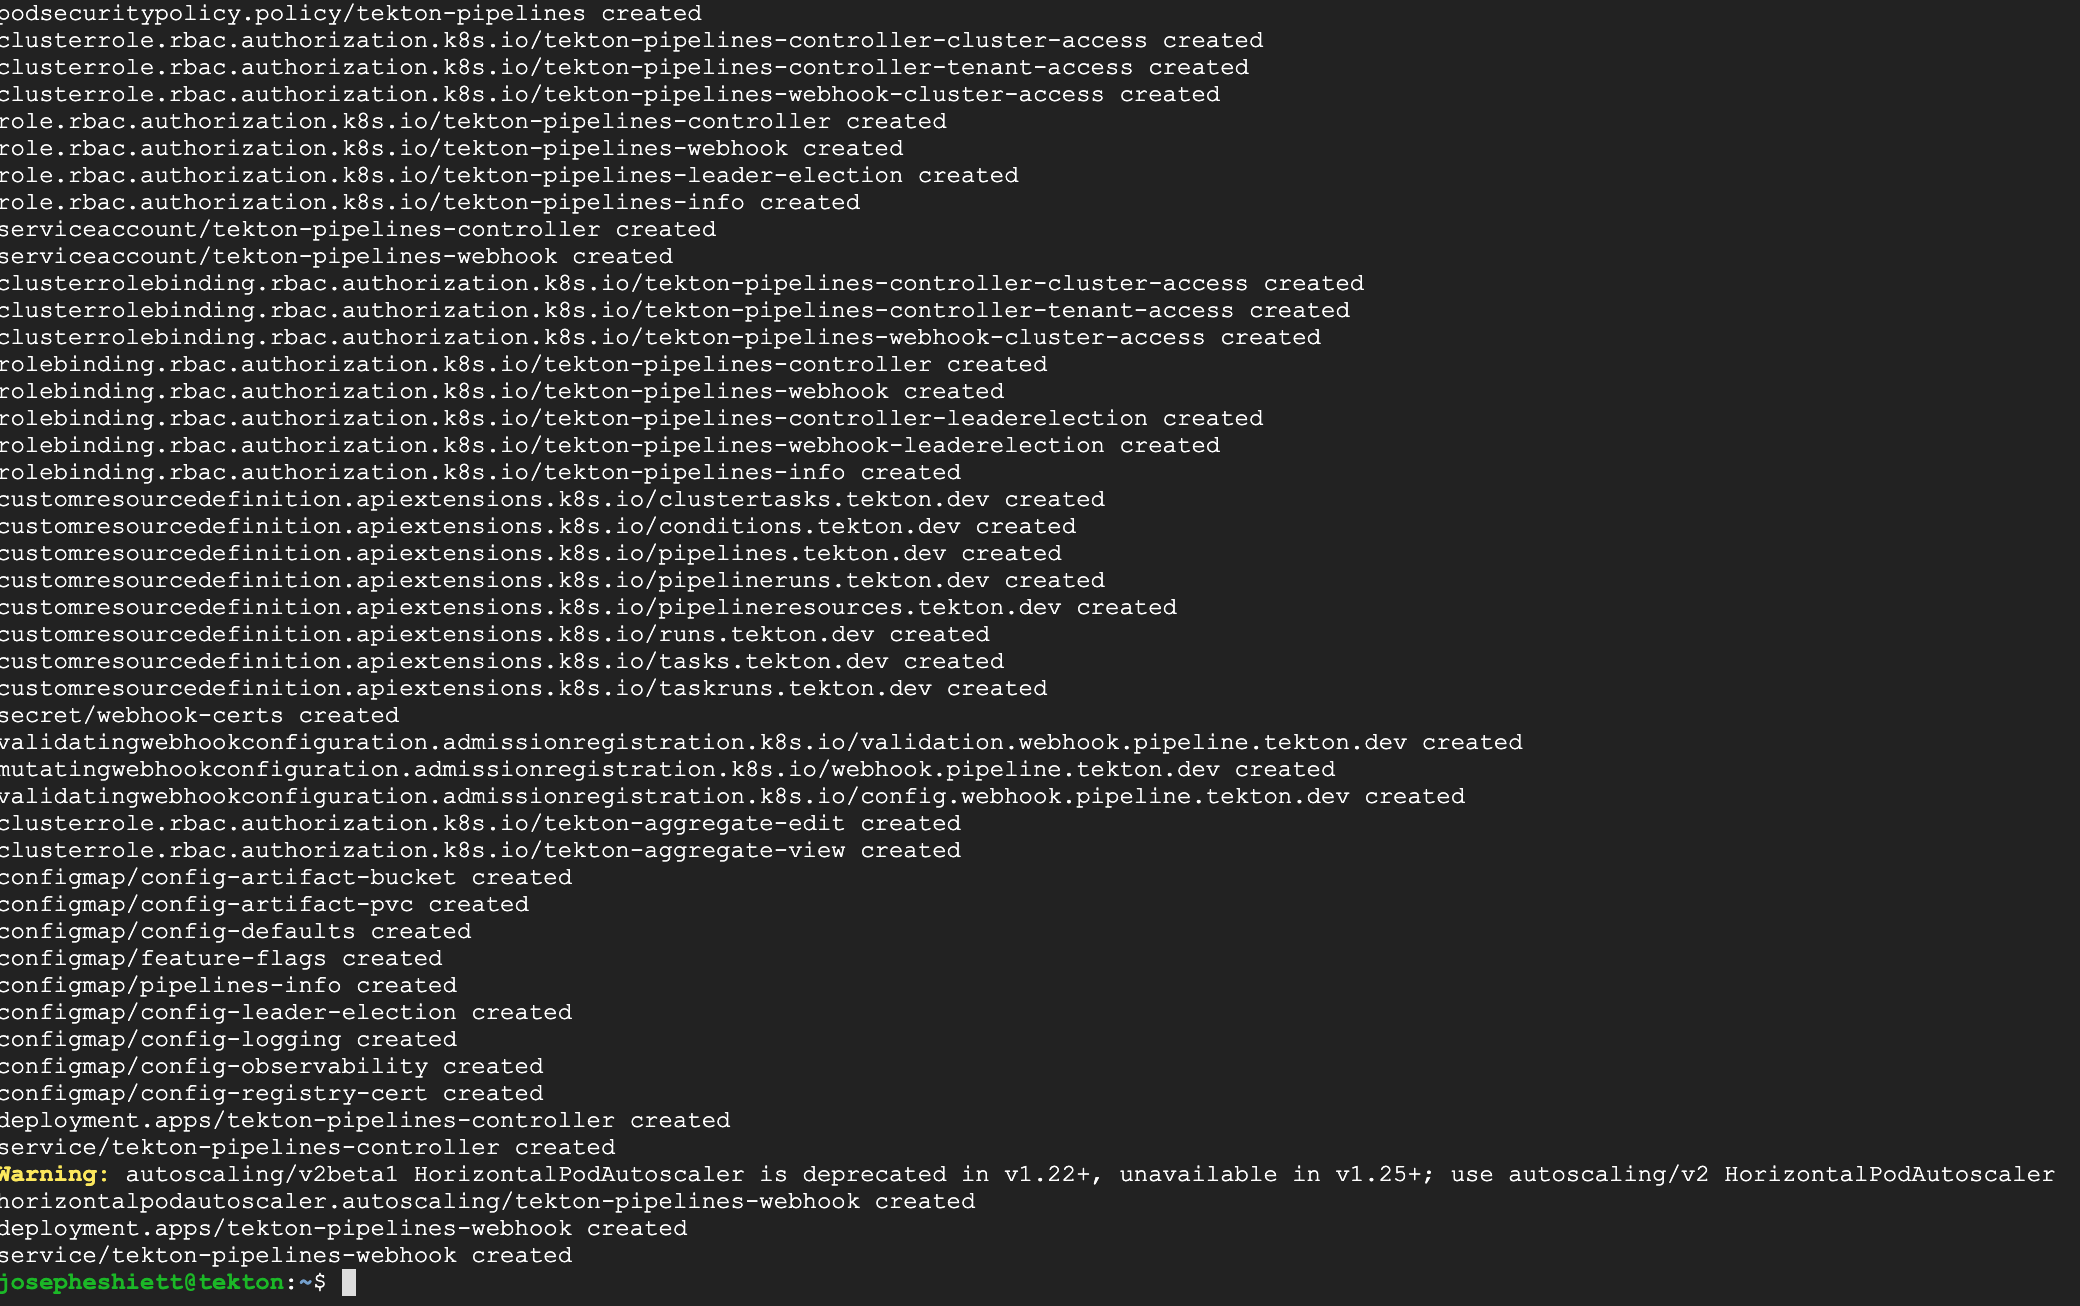
Run the following command to install:
kubectl apply --filename \
https://storage.googleapis.com/tekton-releases/pipeline/latest/release.yaml
Verify the Tekton controller and webhook pods are up and running:
kubectl get po -n tekton-pipelines
Installing the Tekton CLI (Tkn)
Although you can still interact with Tekton using kubectl, for this tutorial you’ll use the Tekton CLI (tkn) to install tasks from the Tekton Catalog, which contains reusable Tekton tasks that you’ll be using.
To install tkn on your operating system, follow the instructions. This tutorial uses the Ubuntu 20.04 operating system with tkn version 0.23.1.
Installing Tasks From Tekton Hub
You don’t need to create your tasks from scratch. There are plenty of Tekton resources, such as tasks and pipelines, that are available at the Tekton Hub and frequently updated by contributors.
To build and deploy the sample Node.js application, you need to install the following tasks from the Tekton Hub.
Install git-clone to clone the Node.js project Git repository:
tkn hub install task git-clone --version 0.6Next, install buildah to build and push the image to Docker Hub:
tkn hub install task buildah --version 0.3Lastly, install kubernetes-actions to apply the Kubernetes deployment manifest to the cluster:
tkn hub install task kubernetes-actions --version 0.2To confirm the tasks have been installed successfully, list them:
tkn task list
Creating the Secret and ServiceAccount Manifest
You’re going to create the secrets that the Buildah runtime will use to push the image to your public Docker registry on Docker Hub.
Create a file called secret-sa.yml in the tekton directory and add the following code snippet, replacing DOCKERHUB_USER and DOCKERHUB_PASSWORD with your Docker Hub credentials:
apiVersion: v1
kind: Secret
metadata:
  name: docker-secret
  annotations:
    tekton.dev/docker-0: https://index.docker.io/
type: kubernetes.io/basic-auth
stringData:
  username: DOCKERHUB_USER
  password: DOCKERHUB_PASSWORD
---
apiVersion: v1
kind: ServiceAccount
metadata:
  name: docker-login
secrets:
  - name: docker-secret
Apply the Secret and ServiceAccount configuration to your cluster:
kubectl apply --filename secret-sa.yml
Creating ClusterRole and ClusterRoleBinding
To apply the Tekton resources successfully, you need to set a Kubernetes Role and RoleBinding to the docker-login service account. This service account is what Tekton will use to deploy to the cluster.
Create a file named role.yml and add the following code snippet:
apiVersion: rbac.authorization.k8s.io/v1
kind: Role
metadata:
  name: nodejs-pipeline-role
rules:
- apiGroups: ["extensions", "apps", ""]
  resources: ["services", "deployments", "pods","pvc","job"]
  verbs: ["get", "create", "update", "patch", "list", "delete"]
---

apiVersion: rbac.authorization.k8s.io/v1
kind: RoleBinding
metadata:
  name: nodejs-pipeline-role-binding
roleRef:
  apiGroup: rbac.authorization.k8s.io
  kind: Role
  name: nodejs-pipeline-role
subjects:
- kind: ServiceAccount
  name: docker-login
Apply the role.yml configuration to your cluster:
kubectl apply --filename role.yml
Creating a Pipeline
Now you’re going to create a pipeline resource to build and push the Node.js application to Docker Hub, then deploy to your Kubernetes cluster. This pipeline should reference the installed tasks.
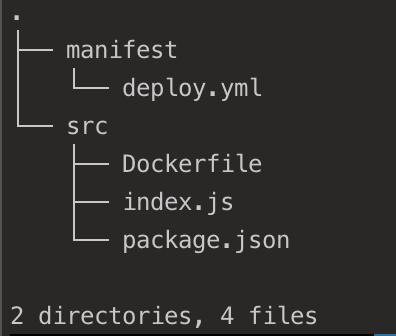
Clone the GitHub project repository containing server.js, package.json, Dockerfile, and the Kubernetes deployment manifest, deploy.yml:
git clone https://github.com/joeshiett/tekton-test.git
Navigate into the GitHub project directory, tekton-test, and create a directory named tekton-practice to store your Tekton pipeline resources. Create a file named pipeline.yml in the tekton-practice directory and add the following code snippet:
apiVersion: tekton.dev/v1beta1
kind: Pipeline
metadata:
  name: nodejs-pipeline
spec:
  params:
    - name: IMAGE
      description: Image description
      type: string
      default: "docker.io/joeshiett/nodejs-app"
    - name: TAG
      description: Preferred tag
      default: latest
  workspaces:
    - name: linked-workspace
  tasks:
    - name: fetch-repository
      taskRef:
        name: git-clone
      workspaces:
        - name: output
          workspace: linked-workspace
      params:
        - name: url
          value: https://github.com/joeshiett/tekton-test
        - name: subdirectory
          value: ""
        - name: deleteExisting
          value: "true"
    - name: build-push-image
      taskRef:
        name: buildah
      runAfter:
        - fetch-repository
      workspaces:
        - name: source
          workspace: linked-workspace
      params:
        - name: IMAGE
          value: "$(params.IMAGE):$(params.TAG)"
        - name: CONTEXT
          value: "src"
        - name: FORMAT
          value: "docker"
    - name: create-deployment
      taskRef:
        name: kubernetes-actions
      runAfter:
        - build-push-image
      params:
        - name: script
          value: |
            kubectl apply --filename https://raw.githubusercontent.com/Joeshiett/tekton-test/main/manifest/deploy.yml
      workspaces:
        - name: manifest-dir
          workspace: linked-workspace
Replace the IMAGE default params above with your Docker Hub repository name. This tutorial uses docker.io/joeshiett/nodejs-app.
Next, apply the pipeline.yml configuration to the cluster:
kubectl apply --filename pipeline.yml
Confirm that the Tekton pipeline you created has been added to the cluster:
tkn pipeline list
Editing the Deploy.yml Manifest
To deploy the built Docker image to your own public repository on Docker Hub, edit the deploy.yml file in the manifest directory. Replace DOCKERHUB_USER with your Docker Hub username and APP_NAME with the name of your built Docker image:
apiVersion: apps/v1
kind: Deployment
metadata:
  name: nodejs-deployment
spec:
 replicas: 2
 selector:
   matchLabels:
     app: nodejs-app
 template:
   metadata:
     labels:
       app: nodejs-app
   spec:
     containers:
     - name: nodejs-app
       image: <DOCKERHUB_USER>/<APP_NAME>:latest
       ports:
       - containerPort: 8081
---
apiVersion: v1
kind: Service
metadata:
  name: nodejs-service
spec:
  type: LoadBalancer
  selector:
    app: nodejs-app
  ports:
    - port: 80
      targetPort: 8081
      nodePort: 30001
Creating PipelineRun
Your pipeline has been successfully added to the cluster, but at the moment it’s not running. To instantiate it, you need to create a PipelineRun configuration.
Create a file named pipeline-run.yml and add the following code snippet:
apiVersion: tekton.dev/v1beta1
kind: PipelineRun
metadata:
  generateName: nodejs-pipelinerun-
spec:
  serviceAccountName: docker-login
  pipelineRef:
    name: nodejs-pipeline
  params:
    - name: IMAGE
      value: joeshiett/nodejs-app
    - name: TAG
      value: latest
  workspaces:
    - name: linked-workspace
      volumeClaimTemplate:
        spec:
          accessModes:
            - ReadWriteOnce
          resources:
            requests:
              storage: 10Gi
Kickstart the deployment with the following command:
kubectl apply --filename pipeline-run.yml
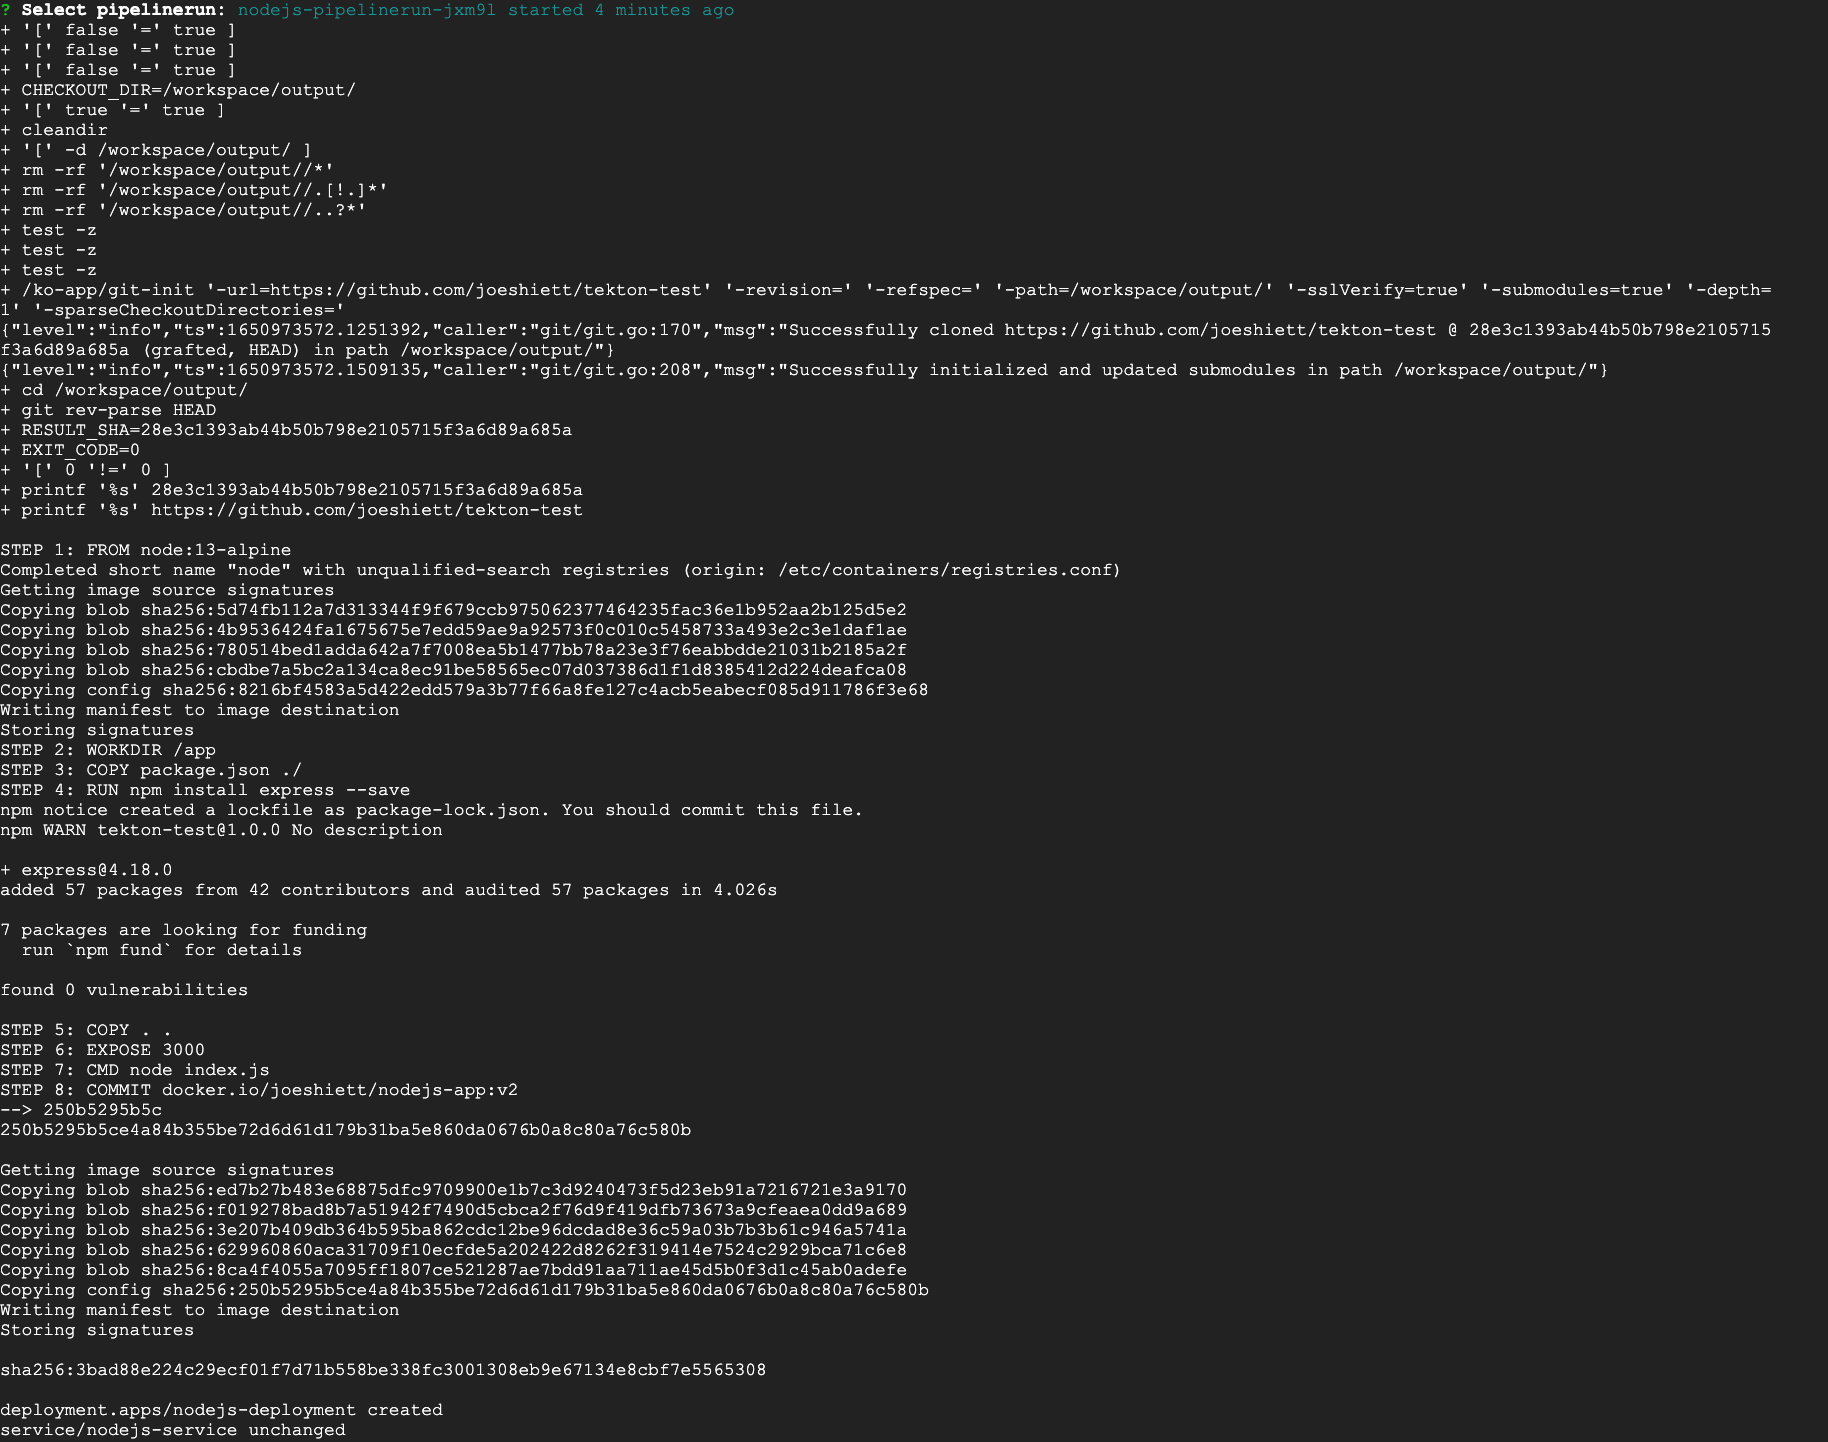
Your pipeline should be up and running. To see the pipeline logs, run the following command:
tkn pipeline logs -fYou should see the pipeline-run.yml configuration applied and started:

Tekton automatically creates pods in the default namespace that run different containers for the pipeline. To see these pods and the Node.js application deployment, run the following command:
kubectl get podsAs shown by the output below, nodejs-pipelinerun- ran successfully and also created two nodejs-deployment- pods running the Node.js application.

Testing Node.js Deployment
Your Node.js application should be up and running in your cluster.
To confirm your deployment, retrieve your load balancer IP address, store it in a variable LB_IP, and access it via the curl command:
export LB_IP=$(kubectl get svc/nodejs-service -o=jsonpath='{.status.loadBalancer.ingress[0].ip}')
curl ${LB_IP} -w "\n"
The curl command should output the following:

Conclusion
In this tutorial, you’ve learned how to use Tekton to streamline application building in Kubernetes. We covered setting up a basic Tekton workflow and deploying an application via Tekton CI/CD pipeline. Tekton not only speeds up your deployment process, but also enhances flexibility and scalability in your Kubernetes projects.
Looking to further fine-tune your app building process? Give Earthly a try for an even smoother development process. This open-source build automation tool can complement your Tekton workflows, offering reproducible, portable, and parallel builds for modern applications.
Earthly makes CI/CD super simple
Fast, repeatable CI/CD with an instantly familiar syntax – like Dockerfile and Makefile had a baby.


